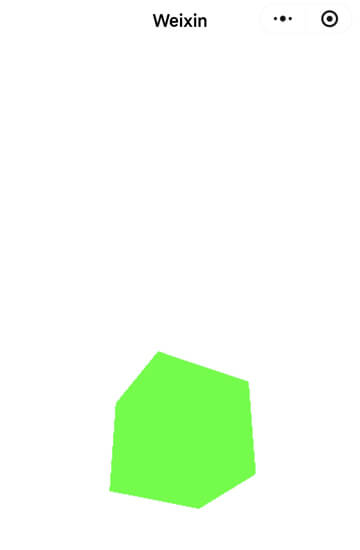

npm install 是 Node.js 生态里最常用的命令之一,用来安装项目依赖的第三方包。简单说:你写 JavaScript/Node.js 项目时,不可能所有功能都自己从零写,通常会用到别人写好的库(比如 express、react、lodash)。npm install 就是把这些库下载到你的项目里,让你能 require 或 import 使用。
所以,要有node.js
因为博主的电脑系统比较老旧(win7),所以无法安装新版本的node.js,适配版本虽然挺麻烦的,然而一方面win7比较省系统资源,一方面常用的软件也较为完备,所以一直躺平在舒适区不准备更换。适合win7的node.js的lts版本可以选如下版本:
node-v12.22.11-x64npm安装
同样因为版本的原因,博主的微信小程序开发工具无法在终端里输入命令,所以直接用windows的cmd代替了。首先进入小程序的文件夹,依次输入如下命令:
//第一条
npm init -y
//第二条,博主这里想要安装的是这个 threejs-miniprogram 库。
npm install --save threejs-miniprogram
构建npm
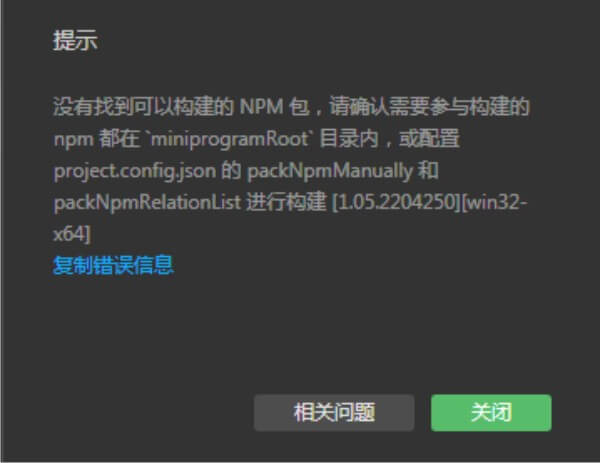
英文不好,对于这个错误提示里的miniprogramRoot目录,以为是要在根目录里建一个新的以miniprogramRoot命名的目录,实际上它应该是小程序根目录的意思,放在前面提醒一下和博主一样英文不好的亲。真新建了目录再下载库,反而会找不到这个库导致构建错误。
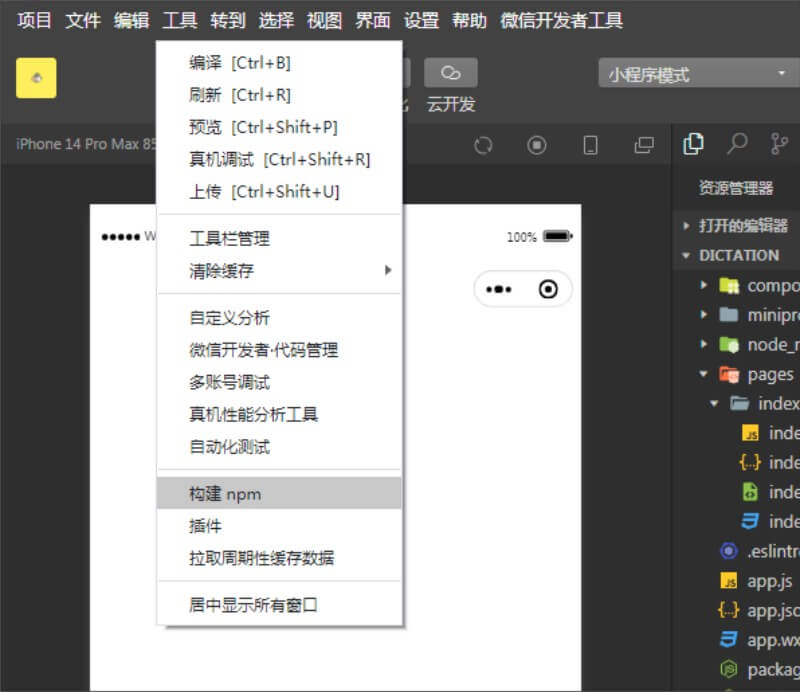
回到微信开发者工具,主菜单 -> 工具 -> 构建npm,构建成功后系统会反馈构建时间与结果。
3d简单案例
index.js代码
// 1. 导入 threejs-miniprogram 提供的适配方法
import { createScopedThreejs } from 'threejs-miniprogram'

Page({
  // 将 THREE 实例缓存在页面对象上,方便其他方法访问
  data: {
    THREE: null,
    scene: null,
    camera: null,
    renderer: null,
    cube: null
  },

  onReady() {
    // 2. 通过选择器获取 canvas 节点
    wx.createSelectorQuery()
      .select('#webgl')
      .node()
      .exec((res) => {
        const canvas = res[0].node

        // 3. 创建一个与 canvas 绑定的 THREE 实例
        const THREE = createScopedThreejs(canvas)
        this.data.THREE = THREE

        // 4. 初始化 3D 场景
        this.initThree(canvas, THREE)
      })
  },

  initThree(canvas, THREE) {
    // 创建场景
    const scene = new THREE.Scene()
    this.data.scene = scene

    // 创建透视相机:视野75度,宽高比与画布一致
    const camera = new THREE.PerspectiveCamera(75, canvas.width / canvas.height, 0.1, 1000)
    camera.position.z = 5
    this.data.camera = camera

    // 创建 WebGL 渲染器并绑定 canvas
    const renderer = new THREE.WebGLRenderer({ canvas })
    renderer.setSize(canvas.width, canvas.height)
    this.data.renderer = renderer

    // 创建一个绿色立方体
    const geometry = new THREE.BoxGeometry(1, 1, 1)
    const material = new THREE.MeshBasicMaterial({ color: 0x00ff00 })
    const cube = new THREE.Mesh(geometry, material)
    scene.add(cube)
    this.data.cube = cube

    // 启动动画循环
    this.animate()
  },

  // 5. 渲染循环:让立方体持续旋转
  animate() {
    const { THREE, scene, camera, renderer, cube } = this.data

    // 小程序环境没有 requestAnimationFrame,改用 setTimeout
    setTimeout(() => {
      cube.rotation.x += 0.01
      cube.rotation.y += 0.01
      renderer.render(scene, camera)
      this.animate() // 递归调用,持续动画
    }, 1000 / 60) // 约 60fps
  }
})
index.wxml代码
<!--index.wxml-->
<navigation-bar title="Weixin" back="{{false}}" color="black" background="#FFF"></navigation-bar>
<scroll-view class="scrollarea" scroll-y type="list">
  <canvas type="webgl" id="webgl" style="width: 100%; height: 100vh;"></canvas>
</scroll-view>